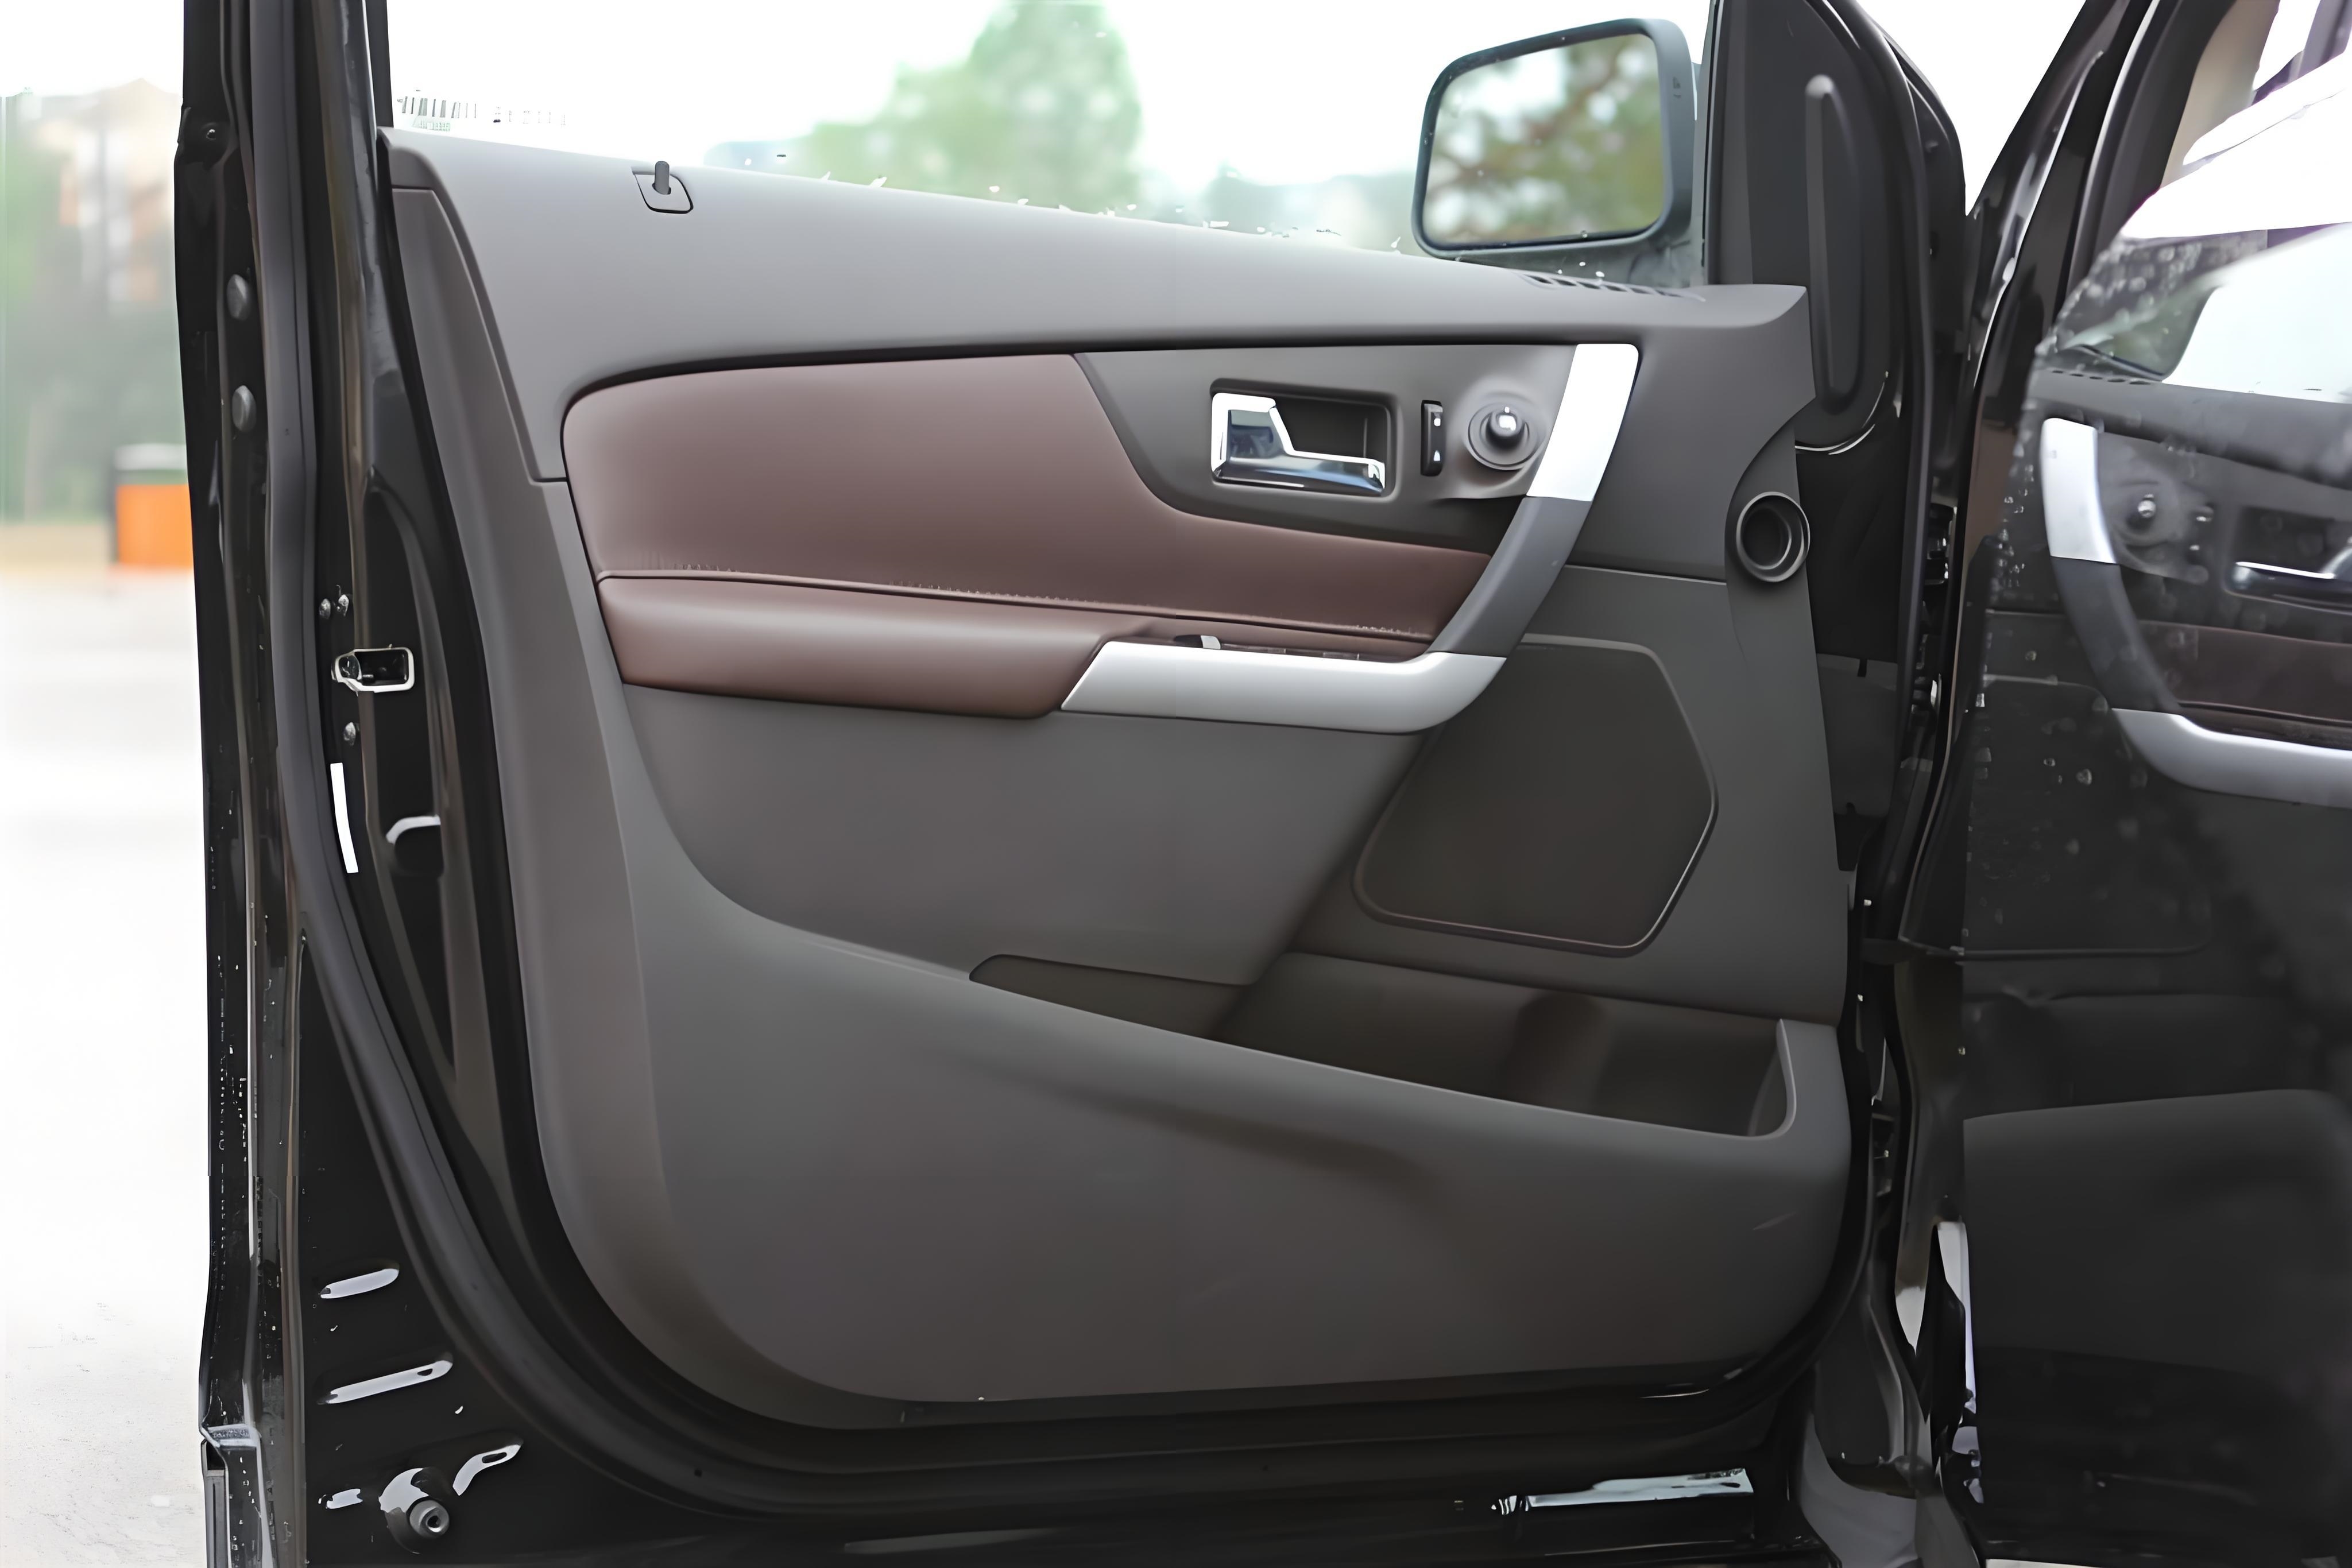
How to replace a section of Door Trim Panel?
2024-06-18
Replacing a section of the Door Trim Panel is a common automotive repair task, especially as vehicles age and door trims may wear out, get damaged, or deform. Here are detailed steps and precautions for replacing a section of the Door Trim Panel:

Step 1: Prepare Tools and Materials
Before starting the replacement of the Door Trim Panel section, gather the necessary tools and materials:
- Screwdrivers (cross-head and flat-head)
- Plastic trim removal tools
- Socket wrench set
- New Door Trim Panel or replacement section
- Cleaning cloth
Step 2: Remove the Old Door Trim Panel
1. Disconnect Power: For safety, disconnect the vehicle's power by removing the negative terminal of the battery.
2. Remove Door Handle and Control Panels: Use a screwdriver to detach the door handle and any control panels (e.g., power window switches).
3. Loosen Fastening Screws: Locate and remove all screws securing the Door Trim Panel, typically found around the door and under the armrest.
4. Use Trim Removal Tools: Carefully pry the edges of the door trim with plastic trim removal tools, ensuring not to apply excessive force to avoid damaging internal clips.
Step 3: Install the New Door Trim Panel Section
1. Clean the Surface: Before installing the new door trim, wipe the door frame surface clean of dust and debris.
2. Check Fittings: Ensure all clips and holes on the new door trim section align with the vehicle's original fittings.
3. Install the New Panel: Align the new door trim section with the door frame, pressing it firmly from top to bottom to engage all clips securely.
4. Secure Screws and Control Panels: Reinstall all screws and reattach the control panels and door handle.
Step 4: Test and Adjust
1. Restore Power: Reconnect the negative terminal of the battery to restore vehicle power.
2. Functionality Test: Test all control functions (e.g., power windows, door locks) to ensure they operate correctly.
3. Adjust the Door Trim Panel: If the door trim feels loose or misaligned, make adjustments to secure it properly.
Precautions
1. Use the Right Tools: Use dedicated plastic trim removal tools to prevent damage to the trim panel and door.
2. Handle Control Panels with Care: When removing and reinstalling control panels, take care not to damage the wiring connections.
3. Use OEM Parts: Whenever possible, use original manufacturer or compatible replacement parts to ensure proper fit and longevity.
By following these steps, you can successfully replace a section of the Door Trim Panel, restoring both the aesthetics and functionality of the door. If you're unsure about your DIY skills, it's advisable to seek assistance from a professional technician to ensure repair quality and safety.


